Users can access shared calendars in Microsoft Outlook.
Accessing from the web or Outlook
- Navigate to https://outlook.office.com/mail/ and click on Outlook.
- Log in with your UNMB email credentials.
- Click the calendar icon in the top left corner.
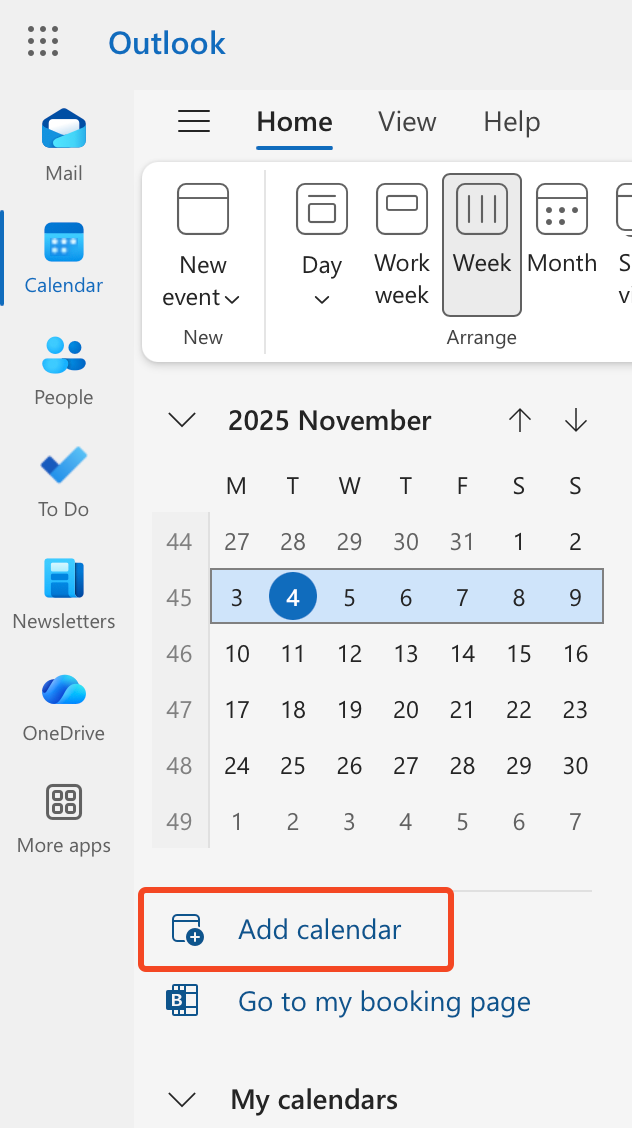
- On the Calendars page, select Add Calendar.

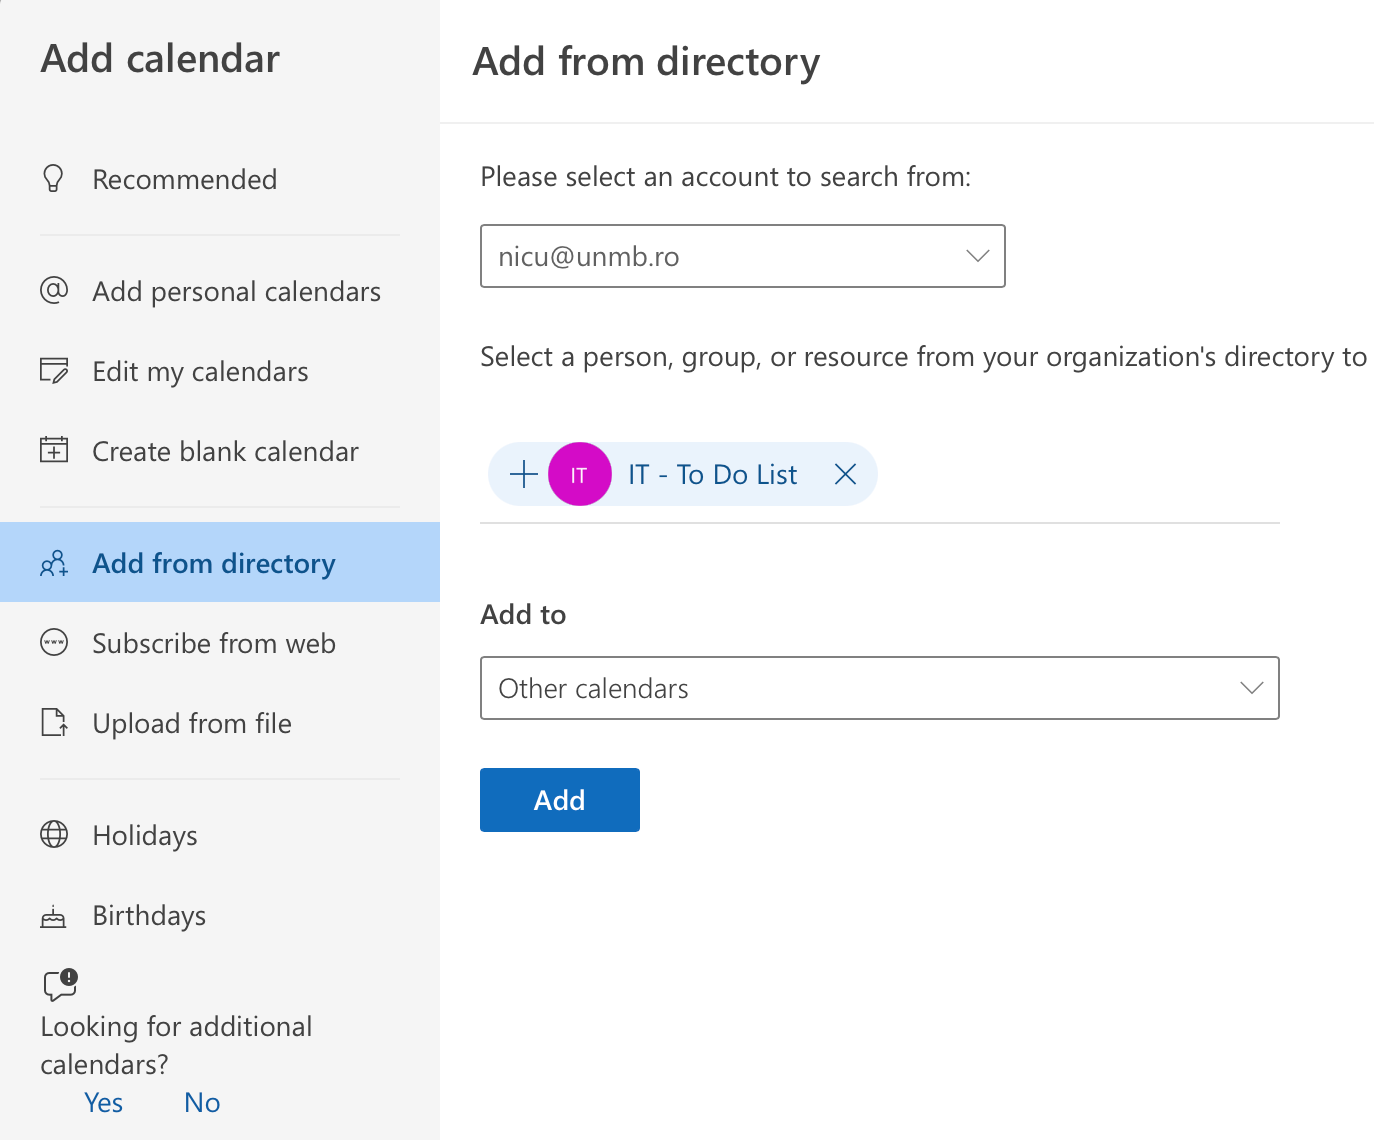
- Select Add from directory in the left-hand menu and enter the shared calendar into the field. This can be added using the display name (e.g., IT – To Do List).
- Select which calendar group you would like to add it to using the drop-down menu and click the Add button.
The calendar will now be displayed with any other calendars open.
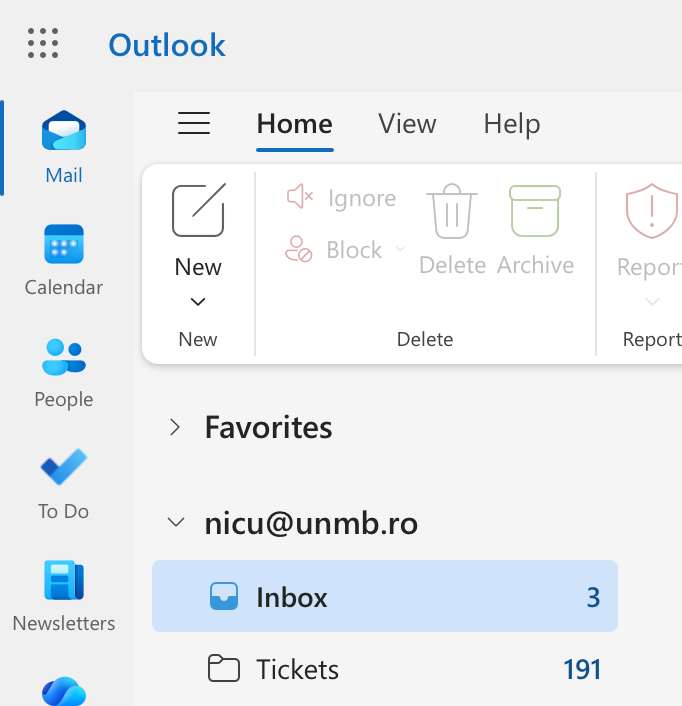
- At the top left corner, click on the calendar icon.
- Click Add at the top right.

- In the drop-down bar, select Open Shared Calendar…
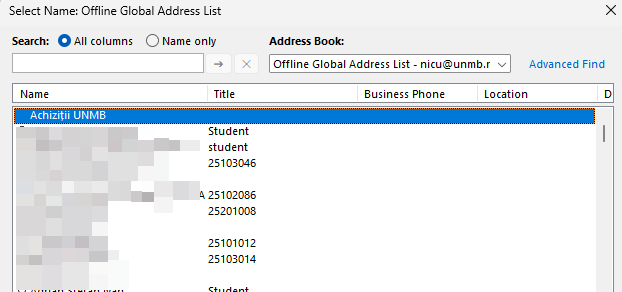
- Click Name…
- itIn the top-left search bar, type in the name of the resource.

- Select the shared calendar from the list and click OK.
- Click OK.
- The shared calendar will now appear in the left sidebar. Click the checkmark next to it for it to be displayed.